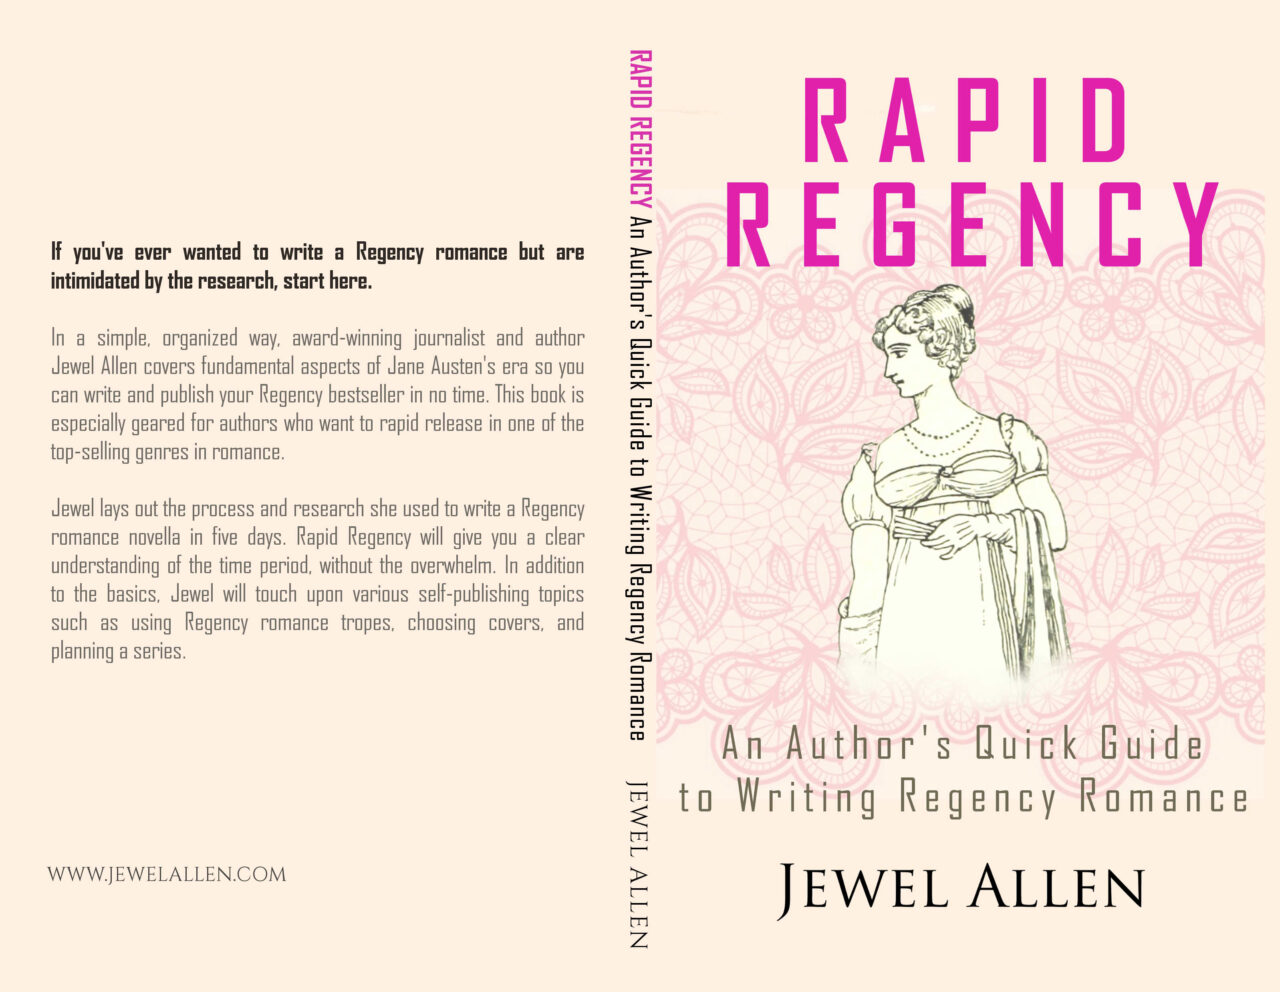
If any of you are interested in dipping your toes into Regency Romance, I just released the paperback of Rapid Regency. It is also available as an e-book.
In non-fiction especially, readers like paperbacks, so this has always been my goal between books. It took me half a day to make the paperback, without having to outsource the work. I had made the e-book cover and formatted the book myself for the e-launch in October, then relied on nearly a dozen exceptional beta readers.
Except for my time and a paid Regency editor, my ROI should be good on this. I make my own covers mostly on my non-fiction, though as my cover skills grow, I would love to make more of my own fiction ones too.
BOTTOM LINE: As you start publishing, you can rely on paid professionals, as I did early on in my career. Eventually, I encourage you to learn how to DIY as much of self-publishing to keep your business lean and profitable. Not to mention to give you control of your products.
How to create a paperback cover from an e-book cover:
1. Go to Kindle Direct Publishing. You will need to know the following: book size (I typically do 5×8 for shorter books and 5.5 x 8.5 for longer-length books), page count, and paper color (If you need to bulk up your paperback due to a shorter length, cream yields more pages; otherwise, it’s sixes…paper color is largely a matter of personal preference). Once you’ve entered the information, click on “Download Template.”
2. Pull the template into a graphic program like Photoshop or Gimp (a free version of Photoshop that I have used for years with good results). Lower the opacity of the template to make sure that your cover elements fall within the prescribed guides. Once everything is aligned and to your liking, turn off the template’s visibility. Export as a PDF.
3. Find your PDF in your computer folder and open it. Examine it and make sure it is as you want it. Usually, after I review mine, I realize I need to change the font on the back cover text, add my author logo, or there’s something wonky going on with the graphic elements. Make the changes and save in a different version, if you like the option of going back to the original for some reason.
4. If all this sounds like mumbo jumbo to you, you might want to hire a cover artist. I did for my first few books. However, I encourage you to learn mad cover skills to save money and time as well as have full control of your book. This also comes in handy when you decide to make changes to your cover. In the middle of the night. Under deadline.
5. Go to your KDP dashboard, select your e-book and “Create Paperback.” Edit book details. This should mirror your e-book data, so it shouldn’t be that much more extra work.
6. Edit book content. Click “Assign ISBN” unless you have your own through Bowker. All my paperbacks have KDP-assigned ISBNs. The advantage: free. Disadvantage: you can’t use the bar code / document on other platforms like Draft 2 Digital. I figure if I were to publish on other platforms, I could cross the bridge then and perhaps look into getting my own ISBN.
7. Upload your manuscript. Make sure it’s the latest one!
8. Upload your cover in PDF form. This will take a few minutes. Stretch or something.
9. Launch the previewer and look at every page (including the cover) to make sure there aren’t any glaring typos. If you aren’t confident of our proofreading ability, get someone else to look at it. Sometimes we gloss over typos no matter how careful we are because our brain reads the text how it should be, not how it is.
10. Take a deep breath and feel the equal parts thrill and dread pushing the “Publish Book” button. Wait roughly 72 hours for it to go live. Order author copies to your heart’s content and share the good news with your potential readership that your paperback is now available, along with the link.
Want to learn how to write and publish fast for profit? Check out my Rapid Release series for authors.
 Follow